The bonsai treehouse part 1: 3D print design.
Currently, I use Oakwood Manor as an Asian house from before I had a 3D printer. I always dreamt of a bonsai treehouse instead. As soon as I planned on buying a 3D printer years ago, I downloaded all 3D files I could ever use, which came cheap or free. Over the years, I did check every now and then to add more designs.
I only wanted to start designing a large treehouse as soon as I felt that my designing skills were good enough to do so, especially as the use of TinkerCad was no longer an option for this plan: designs to import are way too big for it to handle. This meant using MeshMixer and Blender instead, and Blender is a bit of a pain to get used to.
I will repurpose Oakwood Manor after we move, as my community center, as the one I printed fell apart due my previous expensive 3D printer not printing dimensionaly accurate. My current inexpensive printer brand is way better!
Working on the new model, I was also inspired to improve my current setup a bit more. I even made use of the recent option to ask AI to create me a rounded roofed moongate picture. That took severeal attempts, as AI is not always very willing to help, just saying "it's too busy and come back later" or even showing me completely incorrect pictures to get rid of me. In this case: a children's drawing of a horse, lol.
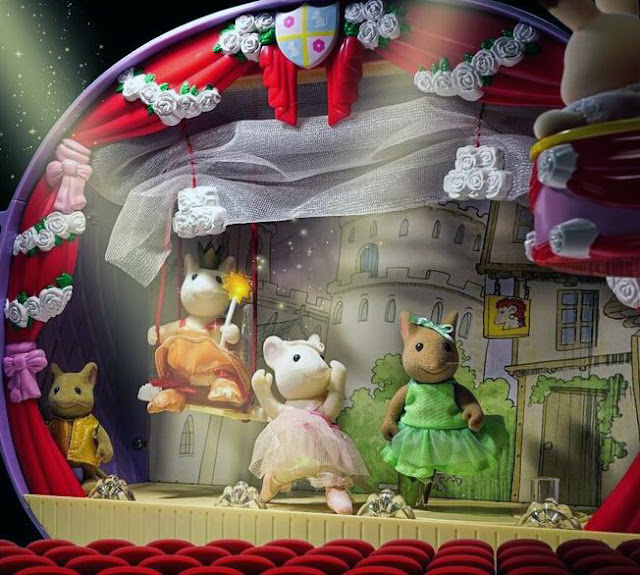
Finally, with the help of Photoshop to finish my picture, I threw it through an AI which creates a 3D model from a picture. Some work well enough to do so an at my last free trial attempt out of many, it succeeded! This is my current Asian setup. The AI moongate is on the right. A vid with details will be shown further down.

I won't print the bonsai treehouse till after we move for 2 reasons: first, I need a bigger printer, as it's going to be large and I want less parts to be glued together. Our truck size is limited and financially, we prefer to make 1 trip only.
I didn't start on this project till others are finished either. I tend to complete projects, I'm a stickler for being anally organised.
The start, in this case, was the base of the tree. Here is the design of the waterfall rock model that will be printed. The bonsai tree will sit over the waterfall. The original design required little work: just scaled it correctly, make it 1/3 lower, add a few rock steps, so "the Sylvs can walk up to the tree". This is the result:

I had various designs of traditional Asian buildings to use to slap together as a combined dwelling on a bonsai over a rock. That did not require much fiddling either. The orientation of each building, the location of windows, doors and passages would just depend on the positioning on the bonsai tree itself. I separated models into parts and combined them in varied ways. I created doorways and windows, keeping in mind that a large human hand has to be able to pass easily to decorate inside.
Yet, it took years to find a gnarly windswept high poly (not blocky but detailed) bonsai 3D model with roots. I learned a lot from designing giant trees in the past: make objects fit together easily after printing, only a few objects are added or subtracted to it to prevent file corruption or holes (boolean function), take plenty of backups to return to any given point in time when you aren't pleased with the result, leave a design sitting for days or weeks, so you can look at it with fresh eyes.
I used Blender and MeshMixer to tweak the tree. Both programs are free.


As you can see, the stairs and bridges are almost hidden from the front, also a trick I used before and love a lot. Either I flaunt the stairs if they are intertwining, curly and magical, or I hide them from the front if they are not. Minor changes have happened to this design since, like a some bigger tree canopies and a few more of them.
Can't wait to move and start printing! So, part 2 of this blog won't be for any time soon. I also came up with a rough idea to make yet another story vid when it's finished! As promised, a short video of my current setup. Enjoy!
.jpg)

Comments
Post a Comment